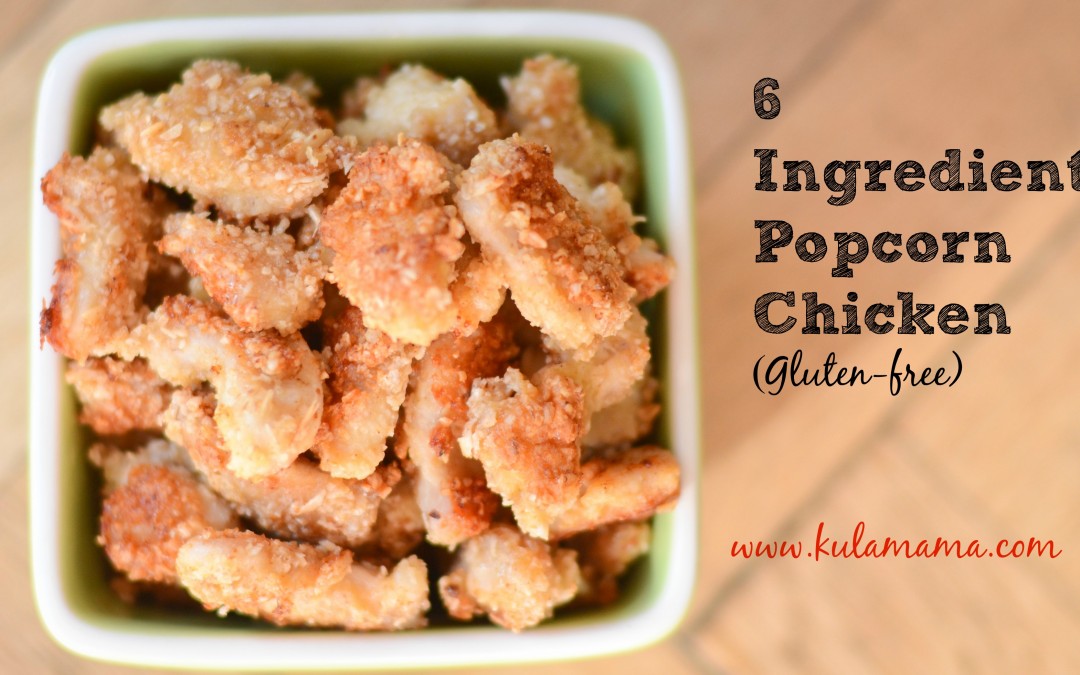
Gluten Free, Holistic Nutrition, Main Meals, Popular Recipes |
Despite my good intentions, there are nights I forget to plan anything for dinner. It happens. On those days I find myself rummaging around in the fridge at 4pm when the kids are cranky and it suddenly occurs to me that I have no idea what to feed them for dinner. Oh,...
Holistic Nutrition, Popular Recipes |
I don’t know about you, but I’m ready for cold and flu season to end. With a new baby in the house we’ve really tried to be careful around here. I’ve trained Kula Baby to wash his hands so many times a day… I might be unknowingly raising...
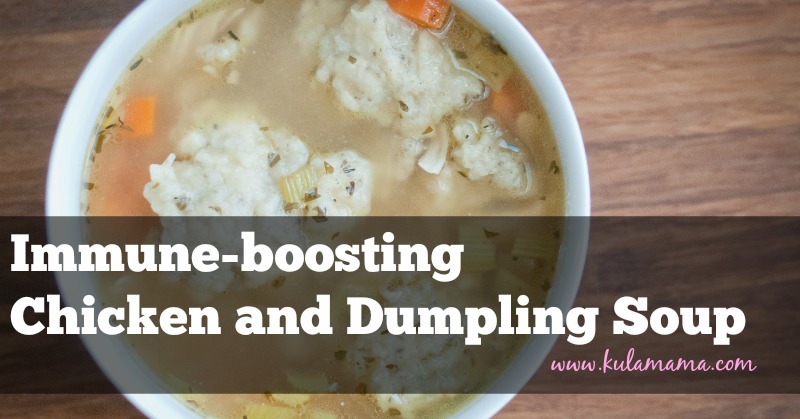
Holistic Nutrition, Recipes |
A few months ago my friend Suzanne brought us chicken and dumplings for dinner. Our daughter was only a few weeks old, we were in the midst of diaper changes and around the clock “naps” in place of solid sleep. If ever there was a time we needed a hug,...
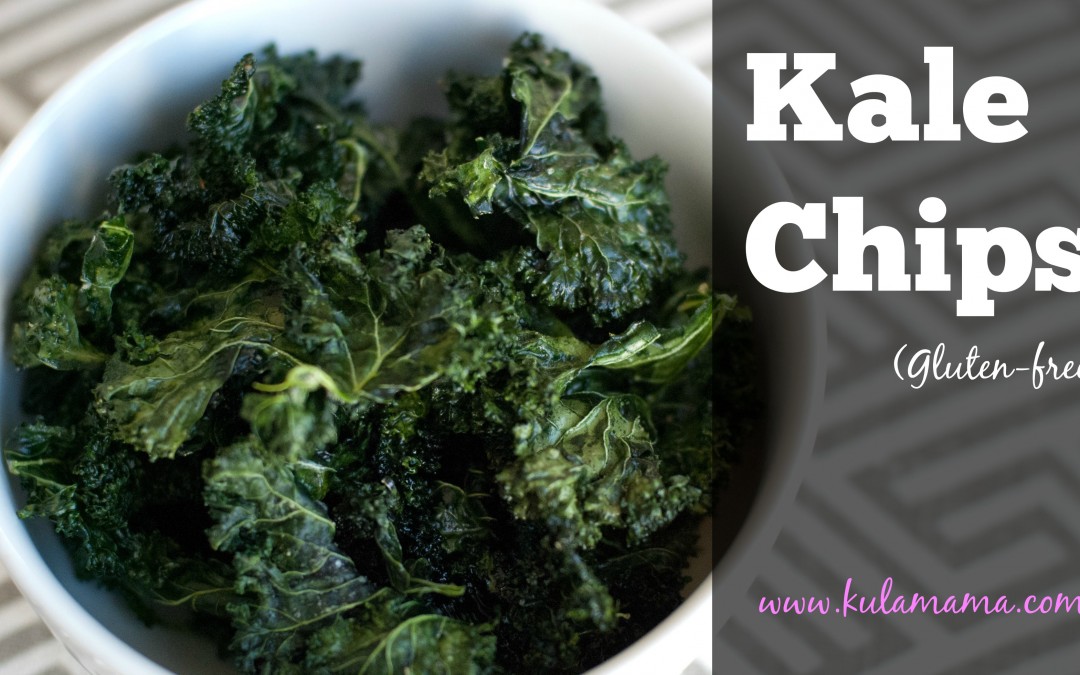
Holistic Nutrition, Paleo, Popular Recipes, Snacks, Travel |
Kale Chips! (Don’t be scared.) This is such an easy, nutritious snack…I want to thank my friend Suzanne for reminding me about them on her website last month. Kula Baby and I made them together awhile ago and then promptly forgot about these yummy chips. ...
Gluten Free, Main Meals, Popular Recipes
I’m sorry, did I blink last week and miss summer? Why does it look like rainy fall weather out my window today? Here in coastal southern California (or as I like to call it this year: SEATTLE) we’ve hardly seen a glimmer of summer. June gloom stretched...