Featured Products

My Latest Posts
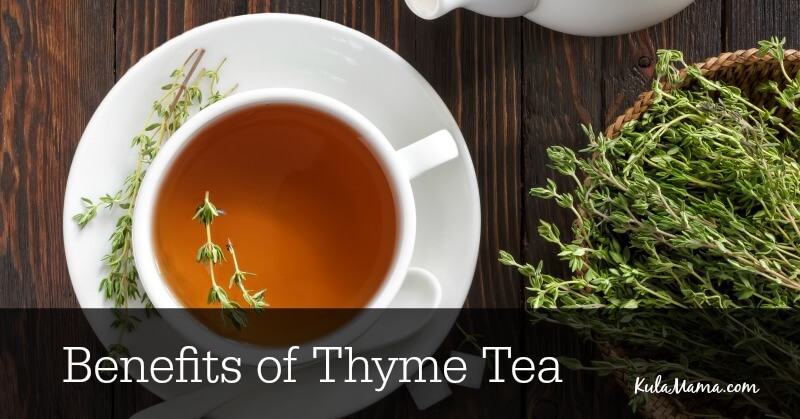
Benefits of Thyme Tea
Benefits of Thyme If there’s one staple in my holistic medicine kit, it’s herbal teas. Not only are many herbal teas kid-friendly (my kids will drink anything if I put enough raw honey in the mug!), but they also provide many immune-boosting benefits. Herbal teas have...

43 Easy to Make Snacks for Kids (Gluten-Free)
Easy to make snacks are a lifesaver as a busy mom. Especially when your kids are in the middle of the growth spurt as both of my children are at the moment. I swear every 15 seconds one of them is telling me how starving they are. So, around here, easy and healthy...
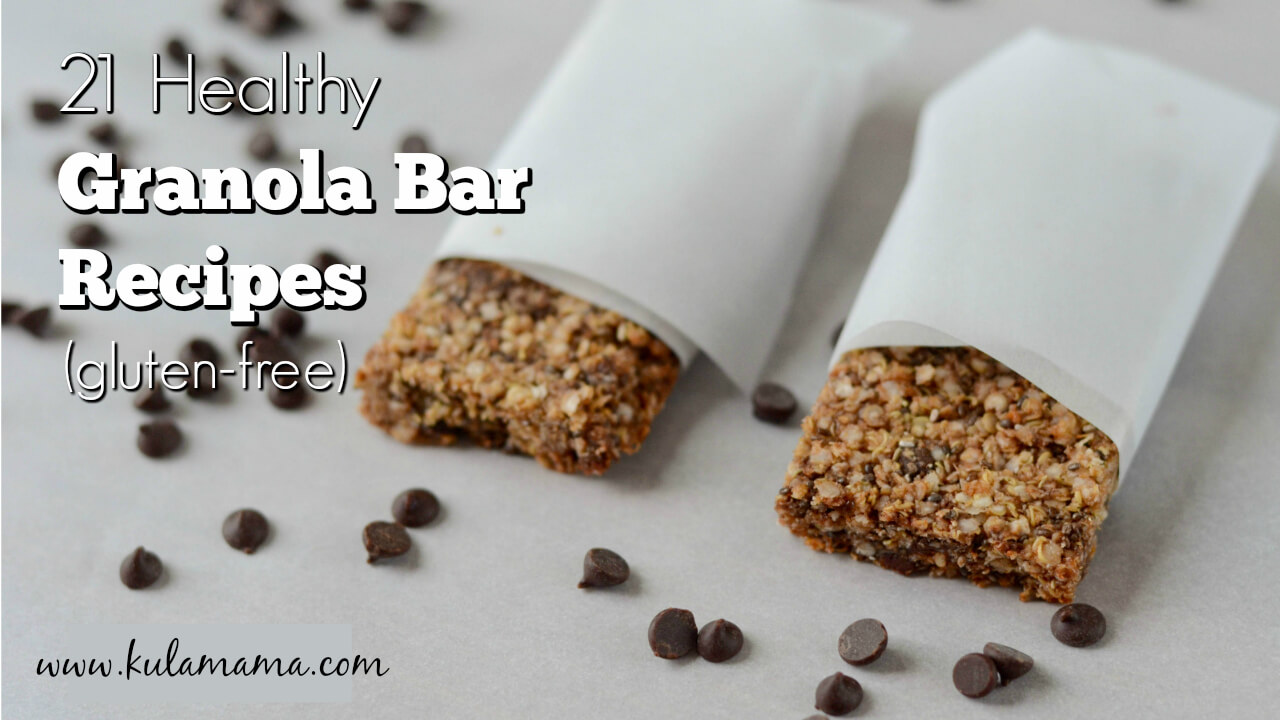
21 Healthy Granola Bar Recipes (Gluten-Free)
My kids are back to school this week after a loooooong winter break. This means I'm back to making lunches in a hurry on school mornings again. To be honest, I'm not the mom who prepares lunches the night before. Instead, I'm more like a fly by the seat of my pants...
Let’s connect
Who is Kula Mama?

Heather Haynes, MA
Work with Me