Featured Products
My Latest Posts
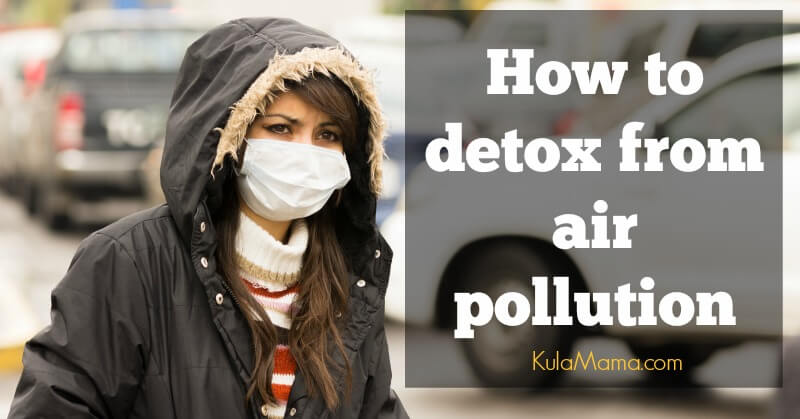
How to detox from air pollution
How to detox from air pollution We’ve had quite the eventful month here in southern California. On December 4th, 2017, the Thomas fire, swept through our community burning more than 280,000 acres and over 1,000 structures to become the largest fire in California...
2017 Holistic Gift Guide
It's that time of year again... ...and this year I'm going to be prepared! I say that every year and it's always a scramble because let's face it....that's how I roll. I wish I was one of those people who tucks away treasures throughout the year to give during...

How much acetaminophen is safe?
How much acetaminophen is safe? I’ve been wanting to write this post for awhile, however, I don’t want anyone feeling bad about how they help their children during illness. None of us want to see our children suffer, so I understand wanting to alleviate symptoms. My...
Let’s connect
Who is Kula Mama?

Heather Haynes, MA
Work with Me